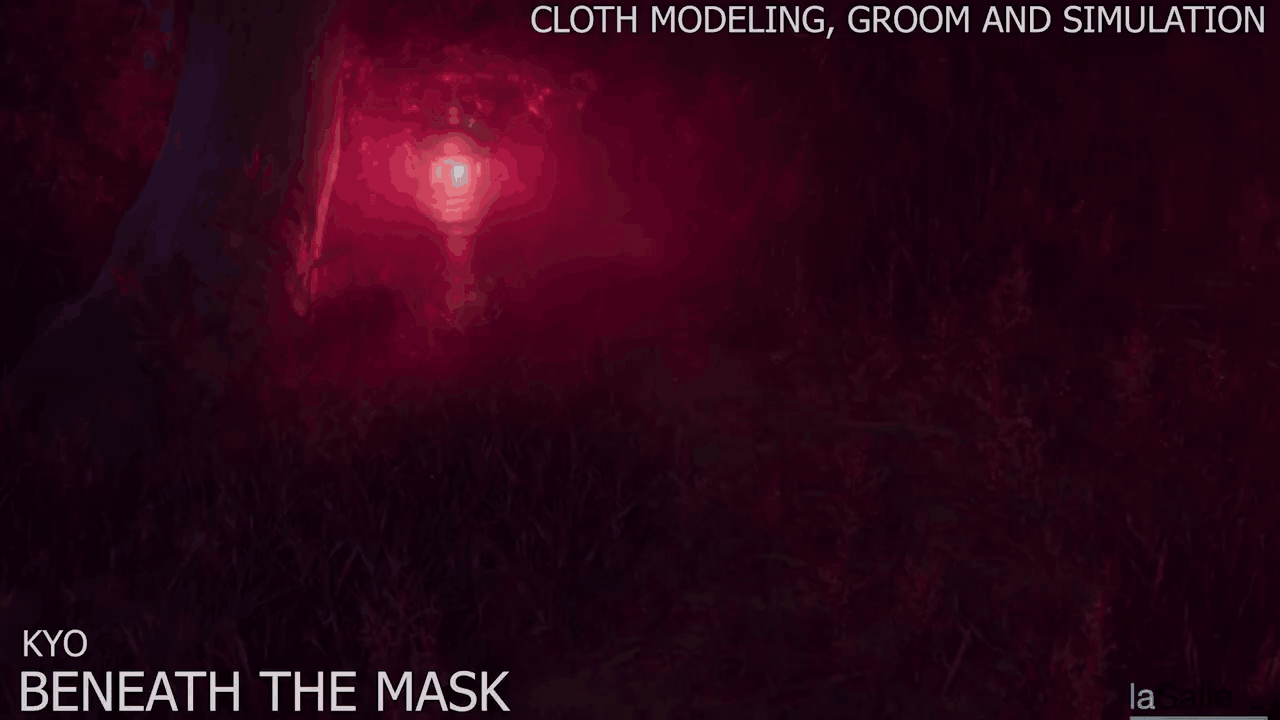
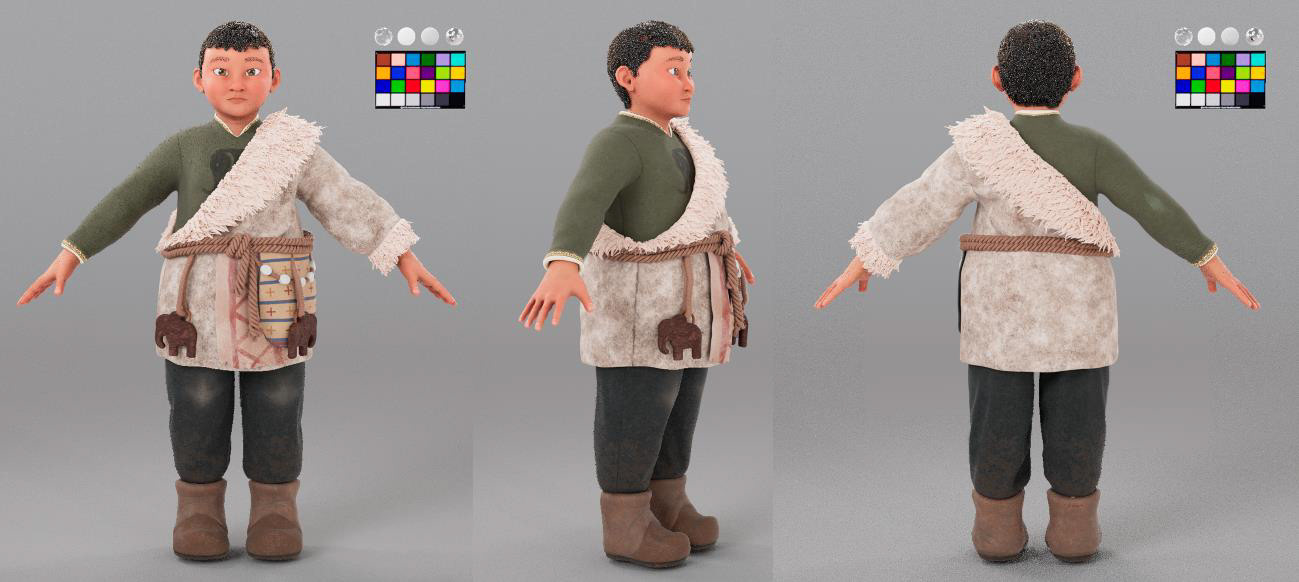
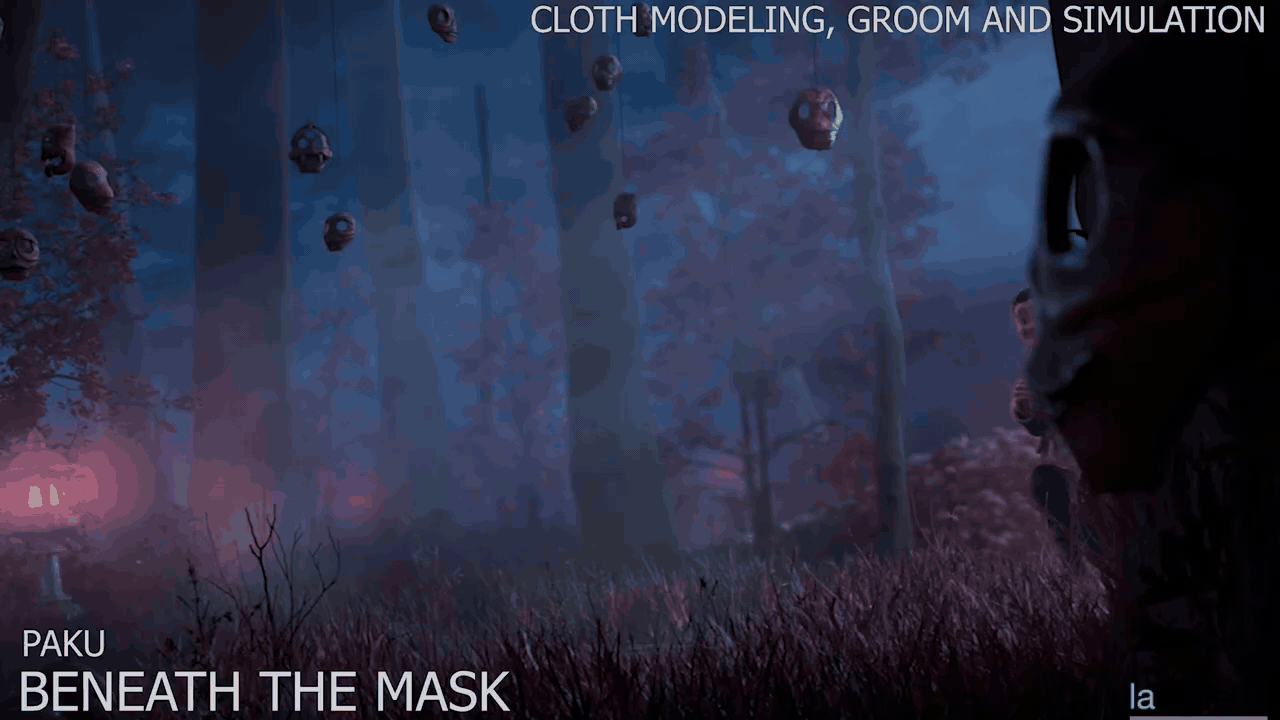
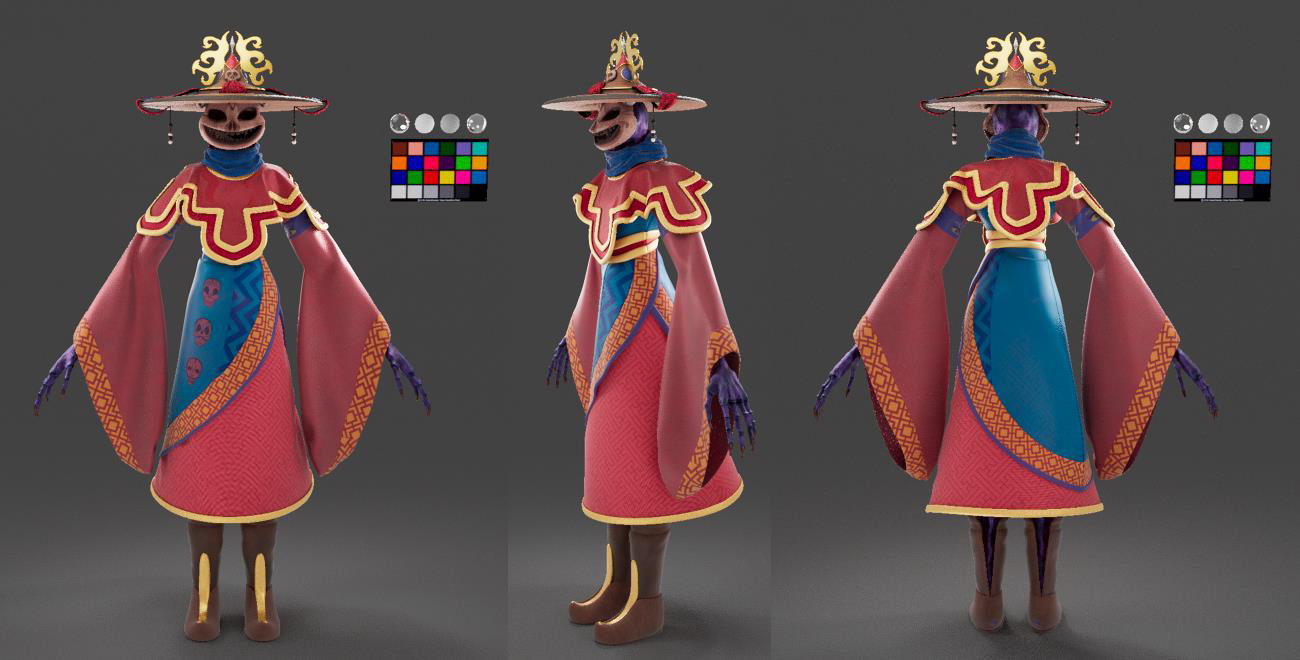
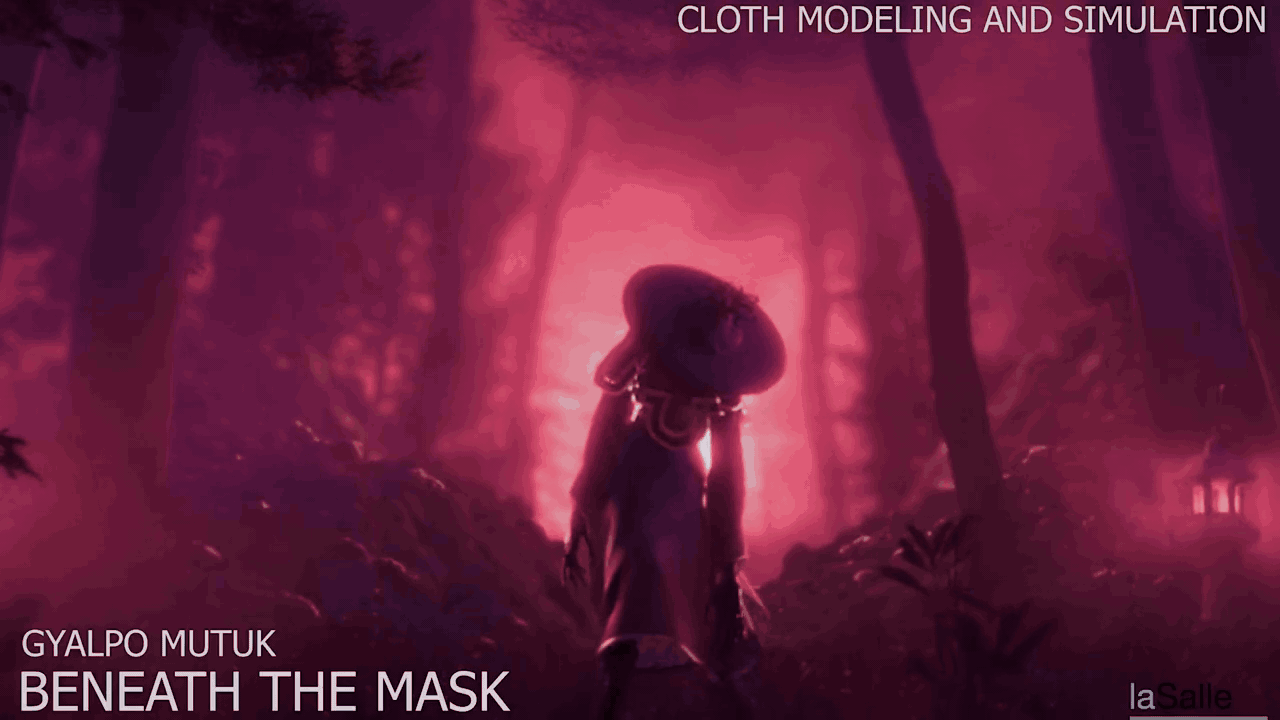
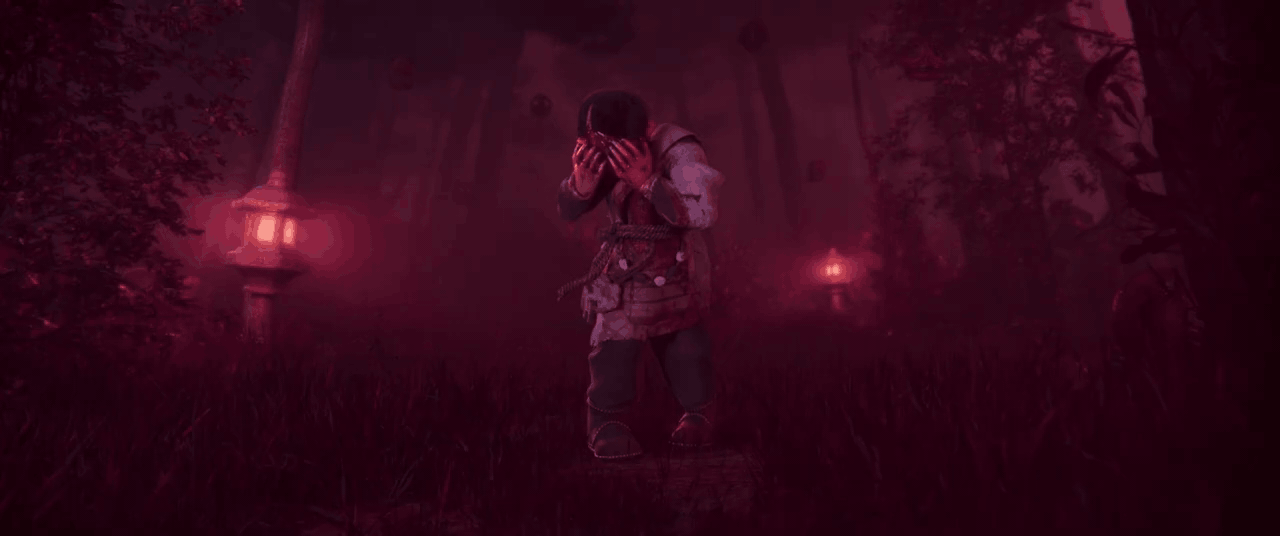
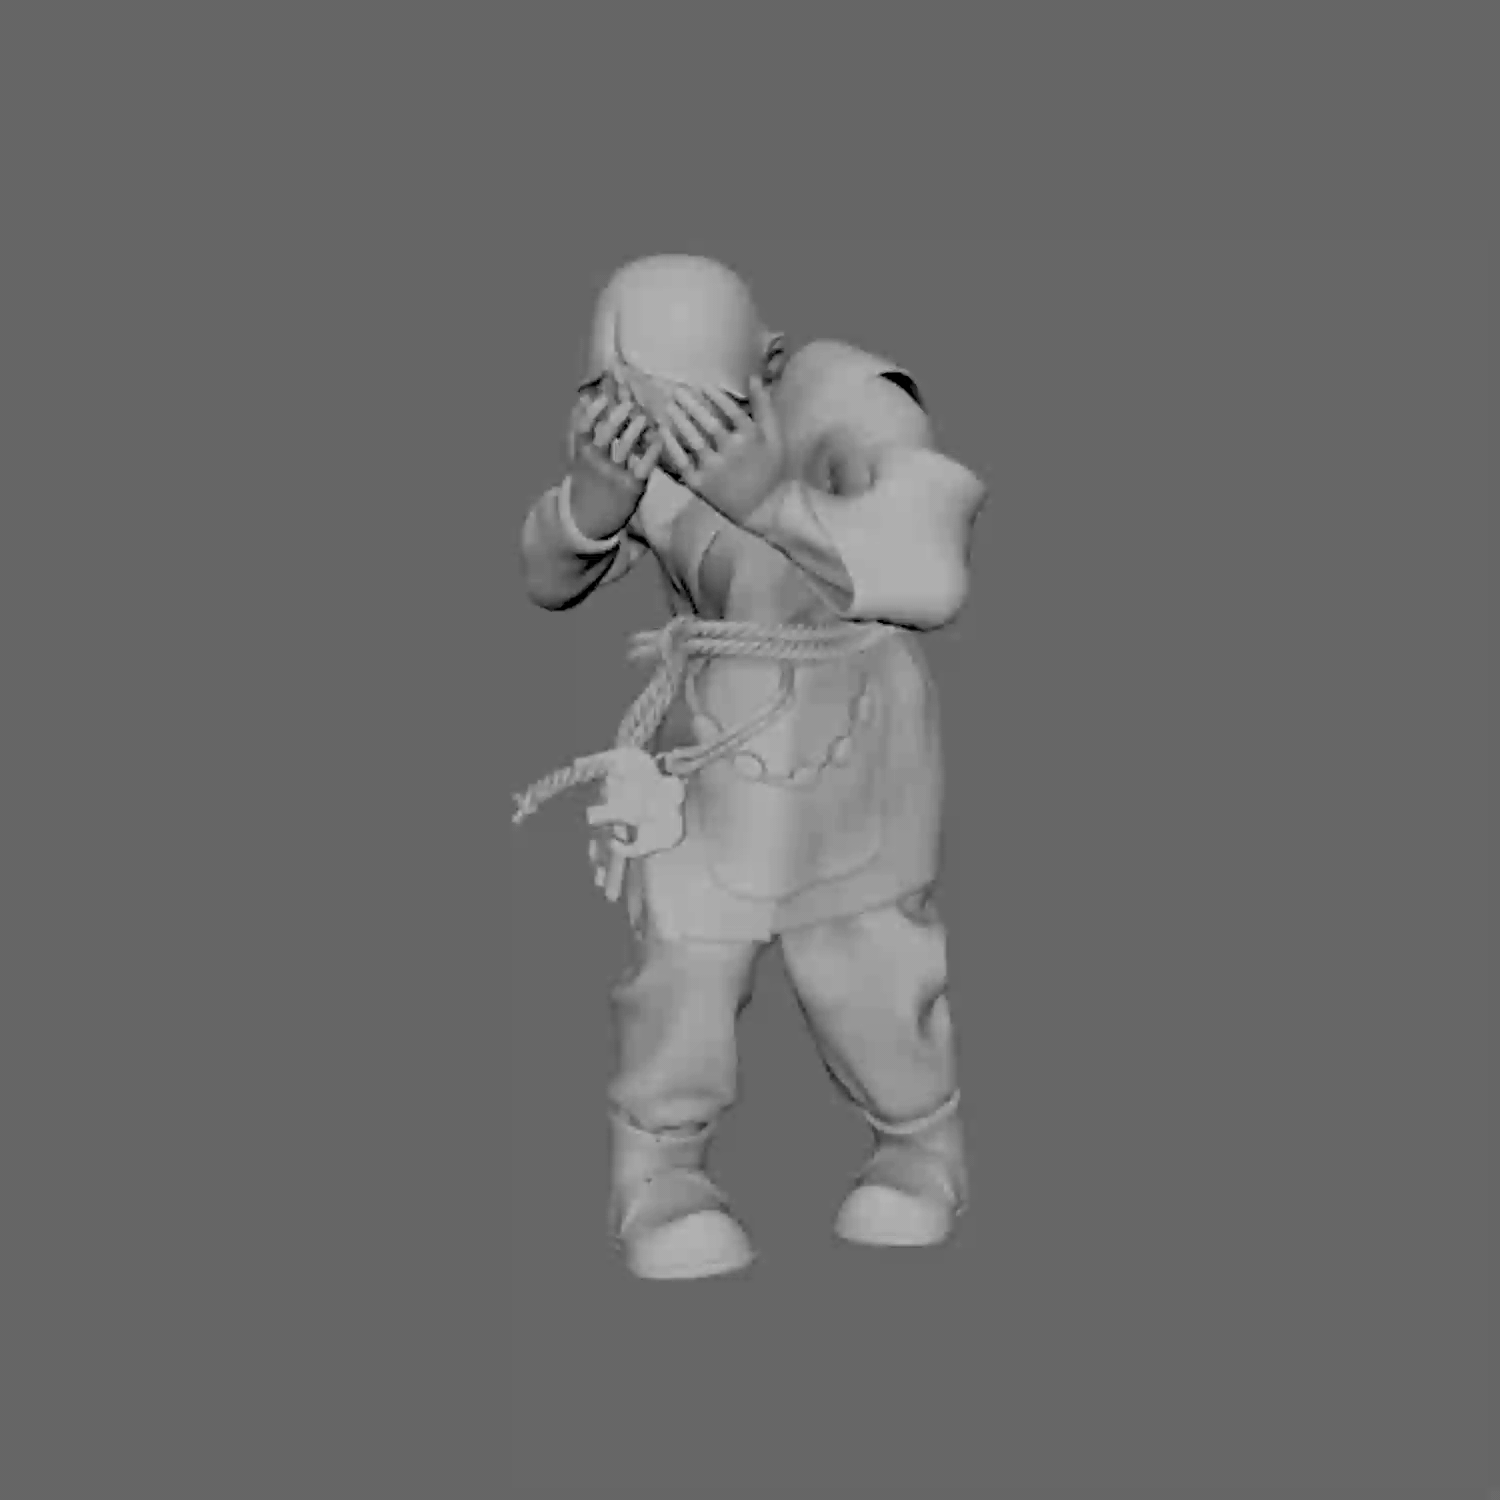
Beneath the Mask marked my first full-scale experience as a Character FX Artist, leading the entire clothing and simulation pipeline for all three main characters in a one-minute cinematic teaser. From early costume research to final simulation and grooming, I was solely responsible for translating traditional Tibetan garments into fully functional 3D assets rendered for production-quality animation.
The project was developed by a team of nine during our final year of an animation degree. We set out to create a grounded short film, silent and atmospheric, that relied heavily on visual storytelling. Set in medieval Tibet, the story demanded layered costumes in yak wool, believable movement physics, and a stylized realism that remained respectful to its cultural setting.
PROJECT BREAKDOWN:
- Costume design based on historical and ethnographic research -
- Digital pattern making in Marvelous Designer -
- Detailing and high-res sculpting in ZBrush -
- Cloth simulation using Vellum in Houdini -
- Transfer of motion to high-res meshes and post-fix in Maya -
- XGen grooming for both cloth fibers and hair elements -
VELLUM WORKFLOW

Character animation import per shot
Scene Set-up
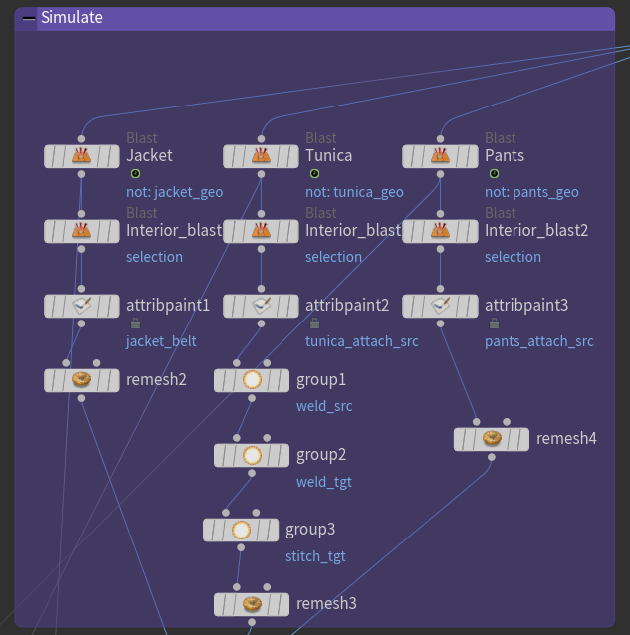
The Houdini OBJ context was divided into color-coded sections for clarity:
- Character animation import per shot, cleaned and isolated via Blast nodes.
- Imported final clothing geometry with UVs and visualization shaders.
- Simulation networks for different characters and shots.
Preparation for Simulation
Garments were separated by layers (shirt, tunic, jacket, belt) and non-simulated parts were treated with point deform setups for animation tracking. The rest were remeshed to optimize triangle density and reduce computation, while attribute paint masks were applied beforehand to drive Vellum constraints.
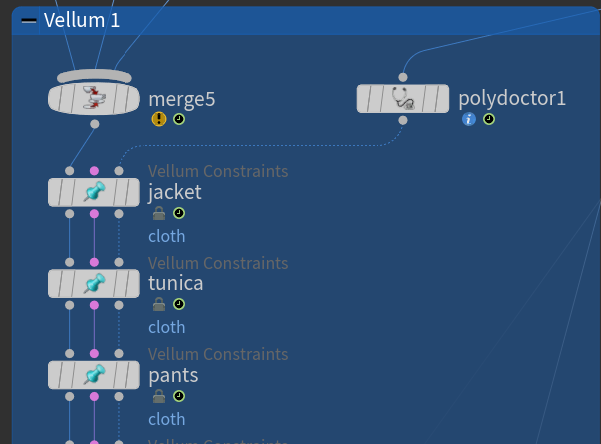
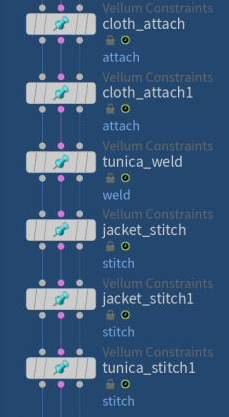
Vellum Setups
Each garment piece had its own Vellum Cloth node with specific settings depending on material behavior. Constraints were then applied using custom masks to:
- Pin sleeves or hems to avoid artifacts.
- Attach garments to the character’s movement.
- Weld and stitch problematic seams.
- Maintain garment structure via struts or pressure settings when needed.
Substeps ranged from 12 to 15 depending on the scene’s complexity, especially in cases of overlapping layers. Caches were stored via Vellum I/O to version simulations and avoid reprocessing.
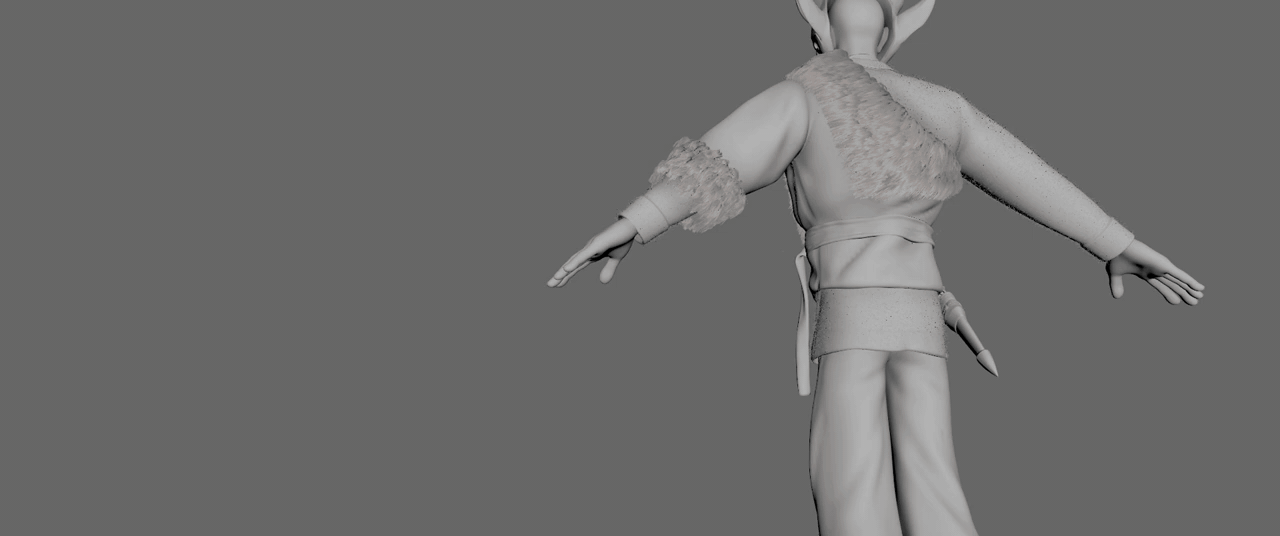
High-Resolution Transfer & Secondary animations
Once satisfied with the result, simulations were transferred to the high-res UVed garments using point deform. Secondary items as belts, left aside initially, were split into static and dynamic components, rigid base and simulated cords, then simulated with a light Vellum setup and constraints.
Fixing & Polishing
After simulation, collision fixes were done in Maya. Each garment was assigned a unique shader for fast visual troubleshooting, and vertex corrections were applied frame by frame where necessary. This ensured no intersections remained.
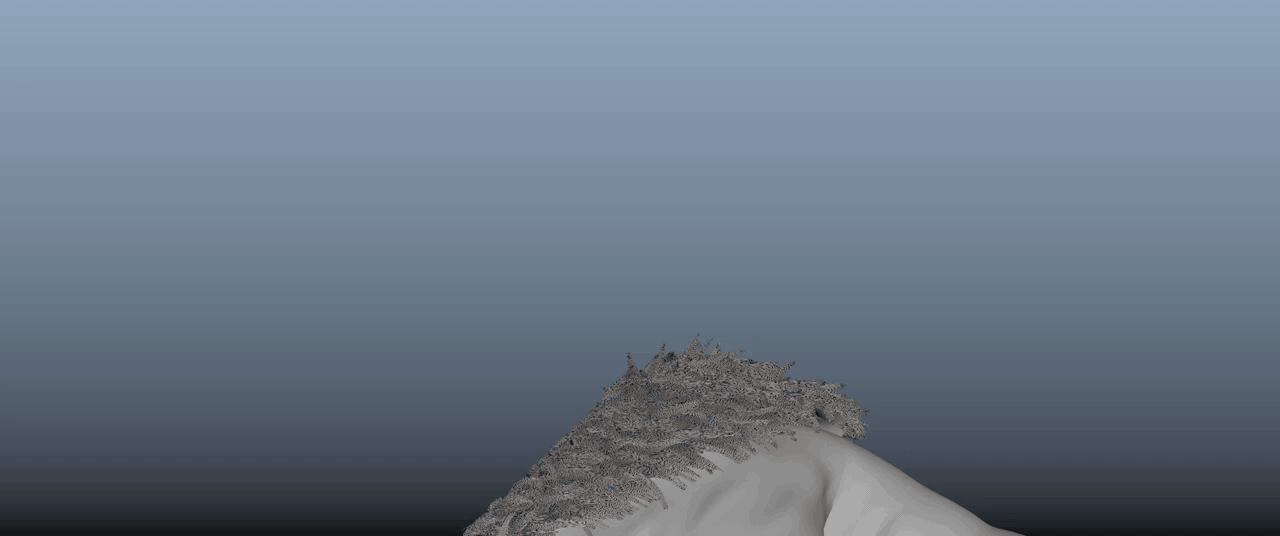
XGen for Clothing Groom
To enrich fabric texture and silhouette, XGen was used to add fur and fiber details to selected garments. Each XGen description was converted to Interactive Groom to allow blendshape linking with the simulated garments. The groom was then imported into scenes with simulated cloth and attached via scalp blendshapes, ensuring the fiber movement followed the cloth animation. Rim lighting was enhanced thanks to the added fibers, helping define silhouettes in cinematic close-ups.